吃灰板子利旧系列--DuoS(RISC-V)养PicoClaw虾
吃灰板子利旧系列–DuoS(RISC-V)养PicoClaw虾
前几天在树莓派3B养了微小龙虾PicoClaw:
- https://mp.weixin.qq.com/s/6Lv8NiyWoatxCgSNYQBkCw
- https://notes.z-dd.online/2026/05/26/%E5%90%83%E7%81%B0%E6%9D%BF%E5%AD%90%E5%88%A9%E6%97%A7%E7%B3%BB%E5%88%97%E4%B9%8B%E6%A0%91%E8%8E%93%E6%B4%BE%E5%85%BB%E5%BE%AE%E5%B0%8F%E9%BE%99%E8%99%BEPicoClaw/
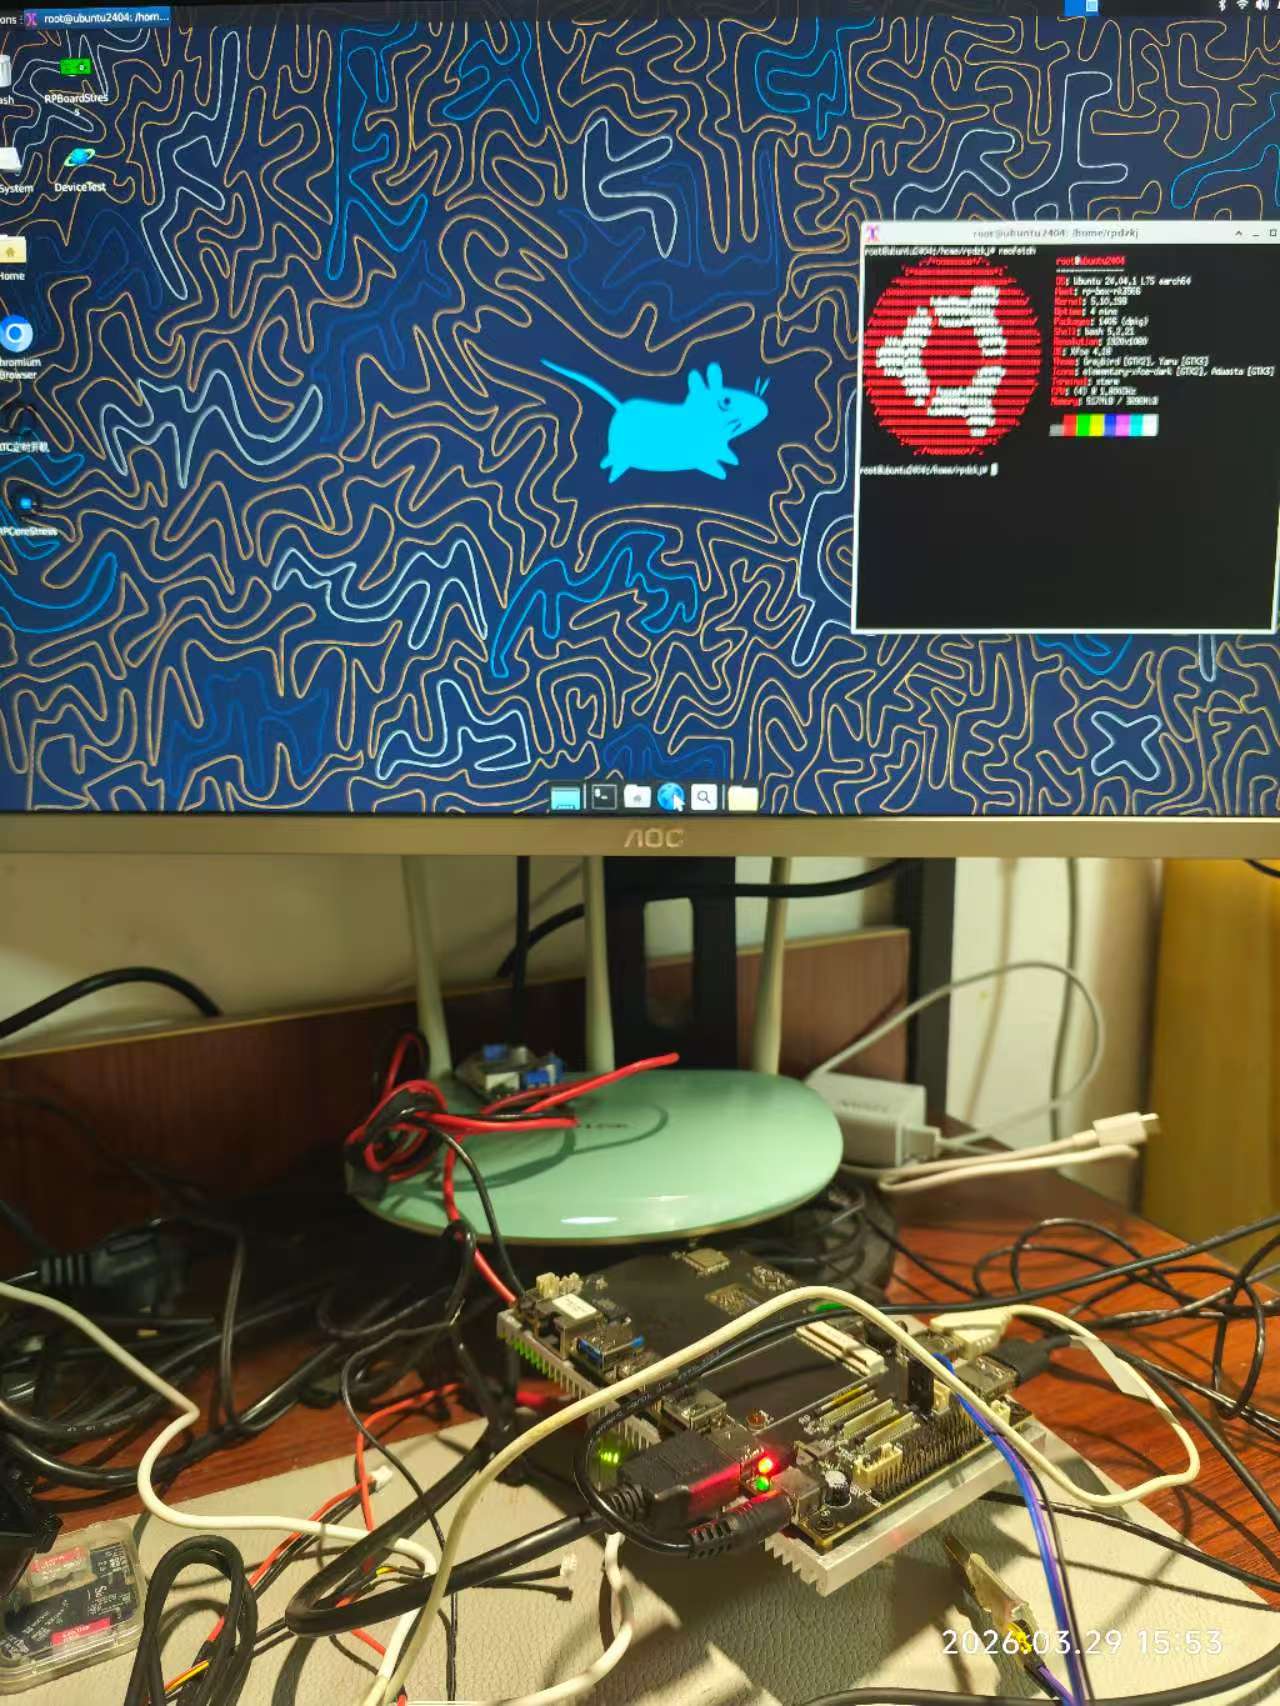
今天打算在吃灰RISC-V板子(Milk-V DuoS)上尝试下
Milk-V DuoS是算能的SG2000主控,RISC-V 和 ARM 多核,参考之前的记录:
https://mp.weixin.qq.com/s/4Iz_7nPZv6ZwFD0abUa3Ow
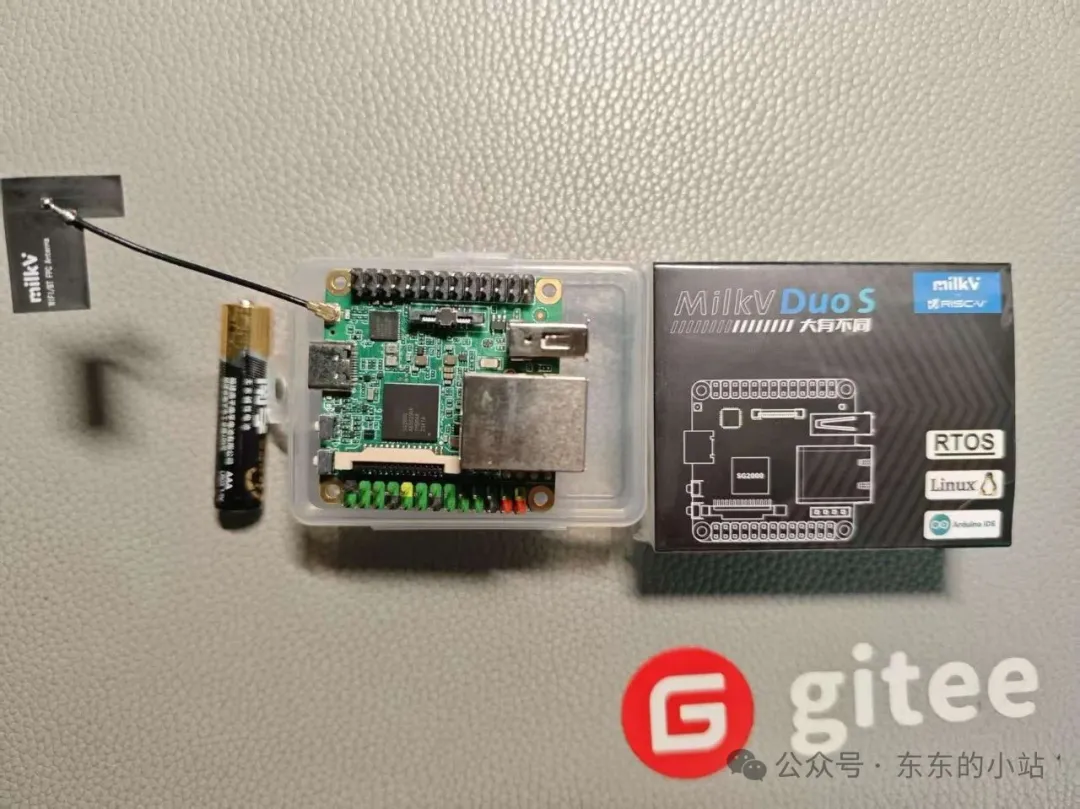
烧录起RISC-V核的V2固件。
配置网络
前面开箱上手及其他实验没有配置网络,这里需要用到,先根据官方指导(https://milkv.io/zh/docs/duo/getting-started/duos#wifi-%E9%85%8D%E7%BD%AE)配置下WIFI,主要就是配置 wpa_supplicant:
编辑文件(/etc/wpa_supplicant.conf),替换 ssid 和 psk 为要连接的 WIFI 账号和密码:
ctrl_interface=/var/run/wpa_supplicant
ap_scan=1
update_config=1

network={
  ssid="wifi_test"
  psk="12345678"
  key_mgmt=WPA-PSK
}
再执行如下命令:
wpa_supplicant -B -i wlan0 -c /etc/wpa_supplicant.conf即可连接 WIFI,连接之后可以通过 ifconfig 或者 ip a 命令查看分配的 IP 地址。
如果需要开机自动连接 WIFI,可以把以下命令放到 /mnt/system/auto.sh 文件中。
interface="wlan0"
max_attempts=100
attempt=0
log_file="/var/log/auto.sh.log"

# Continuously attempt to detect if the interface exists, up to $max_attempts times
echo "start auto.sh" > "$log_file"
while [ $attempt -lt $max_attempts ]; do
    # Check if the wlan0 interface exists
    ip link show "$interface" > /dev/null 2>&1
    if [ $? -eq 0 ]; then
        echo "$(date +'%Y-%m-%d %H:%M:%S') $interface interface exists, starting wpa_supplicant..." >> "$log_file"
        wpa_supplicant -B -i "$interface" -c /etc/wpa_supplicant.conf >> "$log_file"
        break  # Exit the loop if the interface is found
    else
        echo "$(date +'%Y-%m-%d %H:%M:%S') $interface interface not found, waiting..." >> "$log_file"
        sleep 1  # Wait for 1 second before checking again
        attempt=$((attempt + 1))  # Increment the attempt counter
    fi
done

# If the maximum number of attempts is reached and the interface still not found, output an error message
if [ $attempt -eq $max_attempts ]; then
    echo "$(date +'%Y-%m-%d %H:%M:%S') Interface $interface not found after $max_attempts attempts" >> "$log_file"
fi
固定 WIFI MAC 地址
DuoS WIFI MAC 地址是随机分配的,这可能会导致每次重启之后,路由器为 WIFI 分配的 IP 地址会变,可以使用如下命令为 WIFI 配置一个固定的 MAC 地址:
#注意在同一网段中,不能出现重复的 MAC 地址
echo "MAC_ADDR=11:22:33:44:55:66" > /mnt/system/firmware/aic8800/rwnx_settings.ini && sync
然后执行 reboot 命令或重新上电使其生效。
安装部署PicoClaw
下载与安装
使用 ssh 通过 USB-NCM 登录:
ssh root@192.168.42.1用户名:root, 密码: milkv
因为烧录的是Milk-V固件,文件系统不是很适配PicoClaw,这里选择手动下载与配置:
curl -L# -o picoclaw_Linux_riscv64.tar.gz \
https://picoclaw-downloads.tos-cn-beijing.volces.com/latest/picoclaw_Linux_riscv64.tar.gz

mkdir -p /root/picoclaw
gzip -dc picoclaw_Linux_riscv64.tar.gz | tar -xvf - -C /root/picoclaw

cp /root/picoclaw/picoclaw* /usr/bin

rm -rf /root/picoclaw /root/picoclaw_Linux_riscv64.tar.gz
启动 Web UI
如果您希望使用更直观的图形化界面进行操作,请在终端中运行以下命令以启动 Web 服务:
picoclaw-launcher -no-browser -public服务启动后,打开同一局域网内设备的浏览器,访问以下地址即可进入 PicoClaw 的 Web UI:
http://<设备IP>:18800后面的配置就与之前在树莓派上类似了,这里就不赘述了。

 微信
微信 支付宝
支付宝